Have you seen one of these in your blog stalkings lately?
 |
| Image source: www.MissMustardSeed.com |
The first one I saw totally blew me away, and I started searching for a place to buy one. BUT, I could not see myself spending a hundred bucks or so for something like that (as if I even HAVE a hundred bucks to drop on anything but groceries for my swarm of hungry locust-children).
So, I started searching for DIY tutorials. And there are a few to be found. Not as many as I'd hoped, but a few.
Jadeflower's how-to-make-a-rolled-book-page-wreath would be a good place to start. Mostly since she had lots of explanatory photos and what-not-to-do's included. HOWEVER. I've learned that nobody can tell you the best way for you to accomplish anything.
My supply list:
- Old copy of Dean Koontz' INTENSITY (I've read it a gazillion times, and I felt that it would be put to better use making my home pretty than collecting dust on the shelves of my bookcases, and I couldn't see myself cutting up any book I haven't read before, even one from the dollar store.
- Exacto knife. NOTE: please please please make sure it's a new blade! I borrowed mine from Grumpasaur, and it's the oldest frickin exacto blade on earth. I seriously had to score each page four times then fold and tear it. It took freaking 4-EVAH to get 1/3 of the book cut apart. I finally went and bought myself a razor knife.
- Glue Sticks - go ahead, splurge on the 3-pack from Dollar Tree. You'll thank me.
- Ruler
- Pencil
- Craft mat - you don't want to be cutting into your furniture do you?
- Cardboard
- Some sort of round something to use as a template
- Hot glue gun & glue sticks
- Band-Aids

Still with me? Fabulous! Now, even following along with the instructions at hand, with the pretty pictures, it took me waaaay too many tries to get the stupid cones to wrap right. I'd show you a photo of the crappy cones, but the boys decided they made great accessories for their craft ----->
Lay your squarish sheet, point towards you, on your craft mat, like so.

Now, dab some glue on the bottom side of that point, and turn it up towards the center of the sheet.
Now, glob some glue on that upper point, and along the left edge to hold that sucker together.
Once I finally got the hang of it. the cone wrapping went fairly quickly. You have a few chances to reposition if you don't get the cone exactly right, and the extra glue is handy for those times you need 3 extra hands and 60 fingers. I started with larger cones that were just a scoch smaller than 6x6, then made a few 5x5 and finished with 4x4 (because that's how I roll - making things more onerous than they need to be!)

Once you've got your cone rolled, stick your pencil inside and burnish all over while rolling the cone around. This will really stick the glued edges down and ensure that the damn cone doesn't pop open when you are 3 cones down the line. If you've got abnormally long fingers, by all means do it that way. I tried and had to break out the band-aids for the multitude of paper cuts.
I found that sticking my rolled and glued cones into vases/pitchers/candleholders kept them out of my way and gave just enough peer pressure to keep the dang things from popping open. Once you have eleventy-billion of them, pat yourself on the back and make a few more. Let's just say I used 290 of 300 pages from my book. Not that they were all useable, but still. I could only get one each of the larger cones out of a page, but was able to get 2 4x4s from each page later on.
Ok, now it's time to cut your cardboard backer. Take whatever you've decided to use as a template (I used a cereal bowl) and trace around it onto the cardboard. Cut out the circle.

Do your best to find the center in whatever way floats your boat. I eyeballed mine, with a ruler. Because I can be
totally a little compulsive, I divided my circle into quarters and laid out some cones in one. That gave me a good idea of how many I would need overall for the larger bottom circle of my wreath. (I used 43 - yes, it's an odd number, but remember, my cones were not all quite right?) Once I had my pattern down, I started hot gluing those bad boys to the cardboard. That burnishing tool? Great help for this step as well, since you will likely burn the hookie-pookie outta your fingers if you try to press the cones into hot glue that way. Yes, I did. Again with the band-aids.
**Note to self - you want the cardboard on the BACK side of the wreath, so glue them cones exactly opposite of what feels natural at this stage. My whole first row is back-ass-wards, because I got 1/3 through and realized I screwed up. BUT, I was able to salvage and make it look like I planned it that way :)
Now, repeat the whole process again, on top of the cones you already glued. I ended up gluing between the cones on the first layer . Done yet? Great. Obsess much? Excellent, me too! Go ahead and glue on another ring of smaller cones! My third ring was done every other space, with added some texture and floof.
Step back and look at your pretty. Figure out which end is the top, flip it over and hot-glue a small piece of ribbon to the cardboard for a hanger. Kudos if you've got all your cone points lined up and pretty - you won't have to make a center cover! I was lazy, and used one of my Creative Memories templates to cut a cool frame shape out of scrapbook paper. I hot glued that down, and VOILA!!! Awesomeness.
My boys were amazed. Even my husband said it looked pretty cool. My girlfriend already asked for one. I'm gonna have to put that off for a while and let my cuts & burns heal.
 |
| Please ignore the ugly phone jack - it was late and I didn't care. |
So, what should could have been done in an afternoon or a weekend, took me almost 3 weeks to finish. My cones weren't right. My blade was dull and infuriating. My kids killed all the glue-sticks and I had to buy more. I just wasn't motivated after I realized I screwed up the first ring. BUT. I got over the hump that is self-flagellation (we are all such horrid perfectionists aren't we?) and kept working. And now I've got an awesome conversation piece that nobody I know has, and I made it my own little self. Score 1 for the new house!!!
Oh! One final note. If you use a novel of some kind, glance over the text that will be showing once you've rolled your cones - I found a few questionable phrases once I got going, and had to re-roll!
**Another note - I found more "dirty" words showing - lots of breasts and heaving, random phrases that, out of context can (and do!) have a sexual tone...it's a DIRTY WREATH! LOL


 Still with me? Fabulous! Now, even following along with the instructions at hand, with the pretty pictures, it took me waaaay too many tries to get the stupid cones to wrap right. I'd show you a photo of the crappy cones, but the boys decided they made great accessories for their craft ----->


 Once you've got your cone rolled, stick your pencil inside and burnish all over while rolling the cone around. This will really stick the glued edges down and ensure that the damn cone doesn't pop open when you are 3 cones down the line. If you've got abnormally long fingers, by all means do it that way. I tried and had to break out the band-aids for the multitude of paper cuts.

 Do your best to find the center in whatever way floats your boat. I eyeballed mine, with a ruler. Because I can be


 Ro was thrilled. Let me tell you though, we almost came to blows over her back. That intricate cut-work almost did me in! Thankfully, a nice sharp mini-flathead screwdriver fixed up those drips and drabs, distressed to perfection, and cleaned up like a pro. I had my oldest take a seat and kick his feet around, then distressed the shoe-marks out to simulate years of people wrapping their legs around hers, hooking their feet over her spreader bar, and rubbing their hands over her elbows. She was adamant about not needing glaze or dark wax or anything of that sort. She demanded a nice coat of polycrylic, since she figures on working hard the rest of her days.

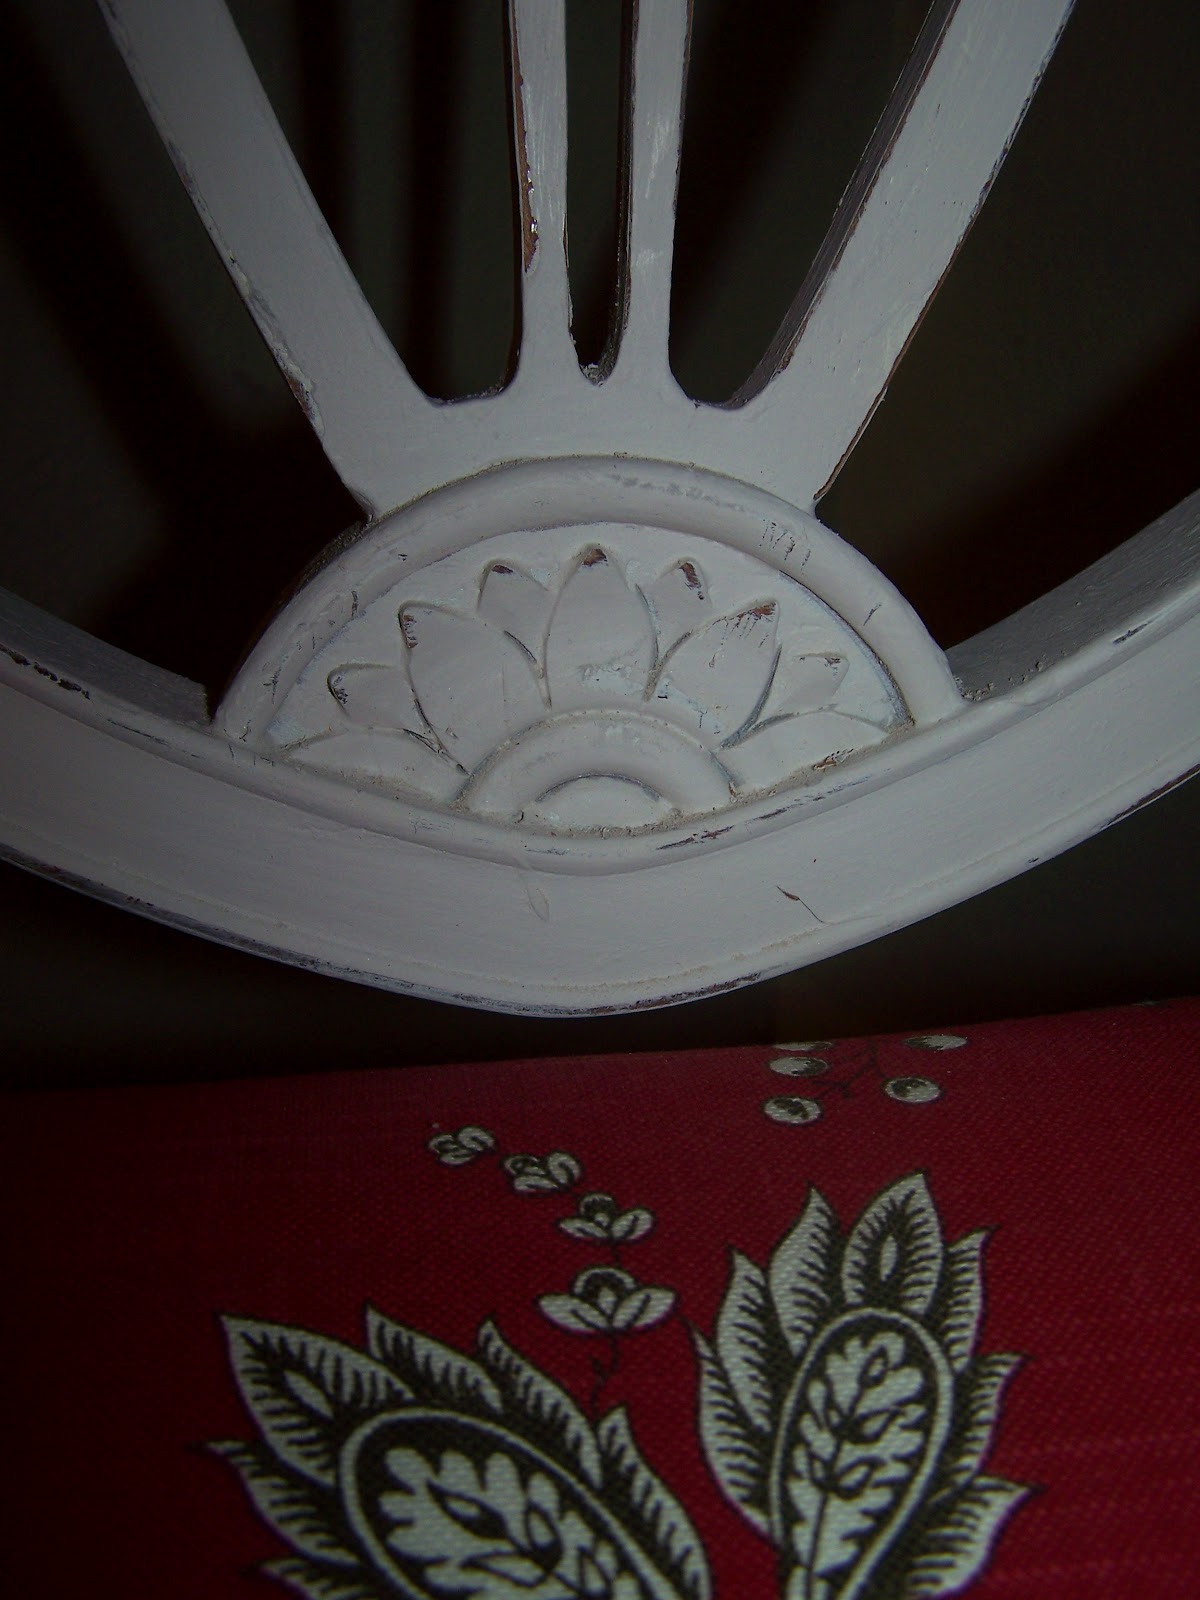


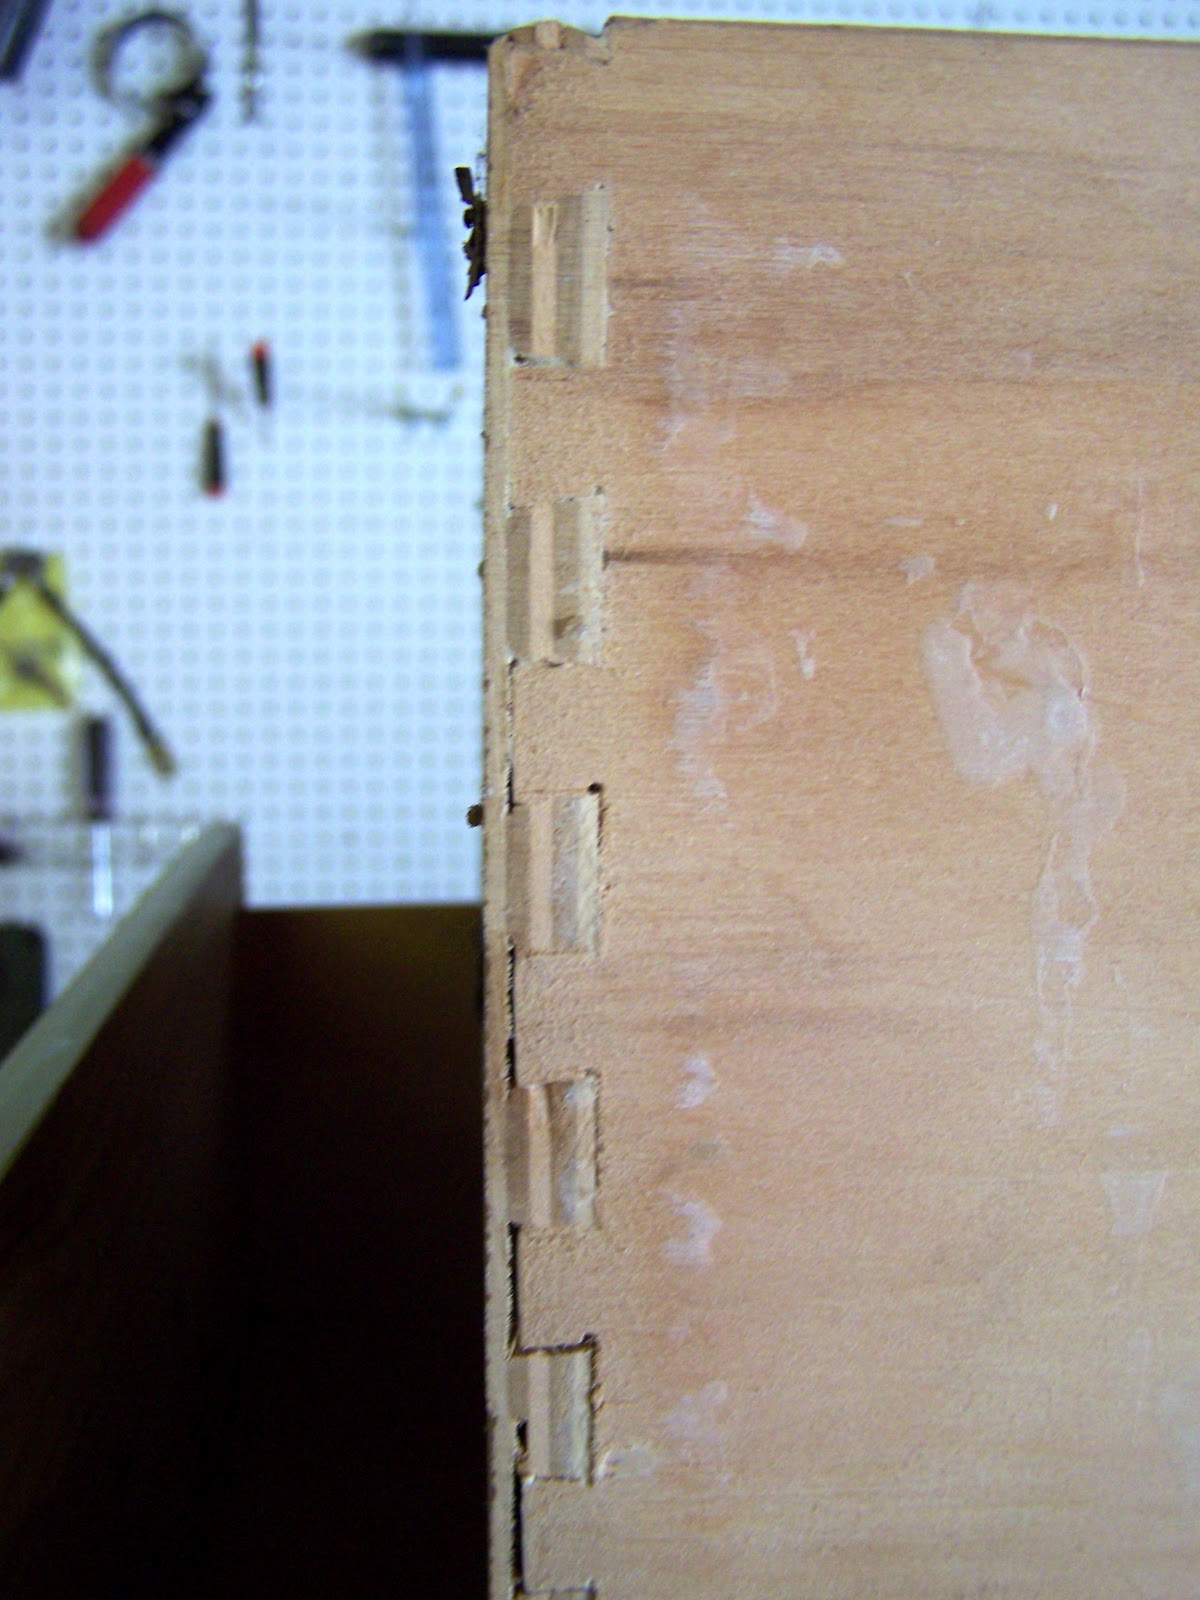 Fortunately, she has great bones! Dovetail and tongue/groove joinery on the drawers, corner block & rail joinery...sigh. Too bad someone replaced the top with a horrible faux-wood veneer plasticky-thing. Thank goodness we decided on painted surfaces! I'm not quite ready to tackle a rebuild yet.
 I really had to attack the old tape before I could get anywhere with anything. Goo-gone and a good sharp scraper did the trick. I also found that someone had probably used poor Sam in the garage at some point, since there were paint splatters in several shades of white and taupe all over her legs and back. Thankfully, primer was on the agenda.